Lightcodepedia
Deploy your LightCode app to Streamlit Community Cloud (via GitHub)
Follow this guide to create a GitHub account, fork this repo, sign in to Streamlit with GitHub, create & deploy the app, and (if needed) fix a build error by switching Python to 3.10.
Prerequisites
- A web browser and internet connection.
- A GitHub account (we will create one if you don’t have it).
Step 1 — Create (or sign into) your GitHub account
-
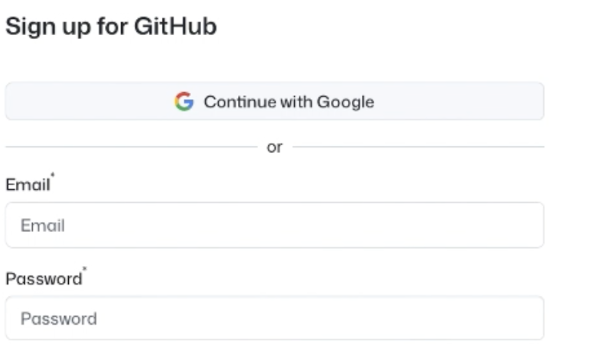
Click Sign up (or Sign in if you already have an account).

-
Fill the sign-up form (email, password, username, country), then Create account.
-
Go to the repository lightcodepedia and open the Fork menu.
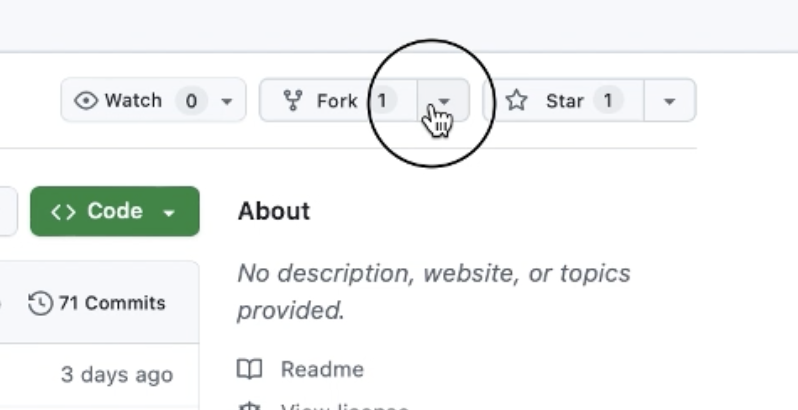
-
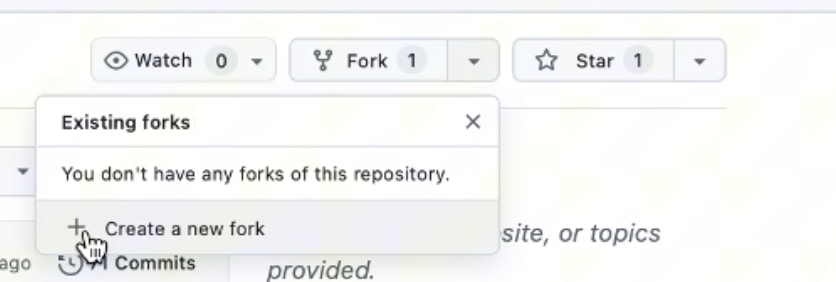
Choose Create a new fork.
-
On the Create a new fork page, keep the default name (or customize), ensure Copy the
mainbranch only is checked, then click Create fork.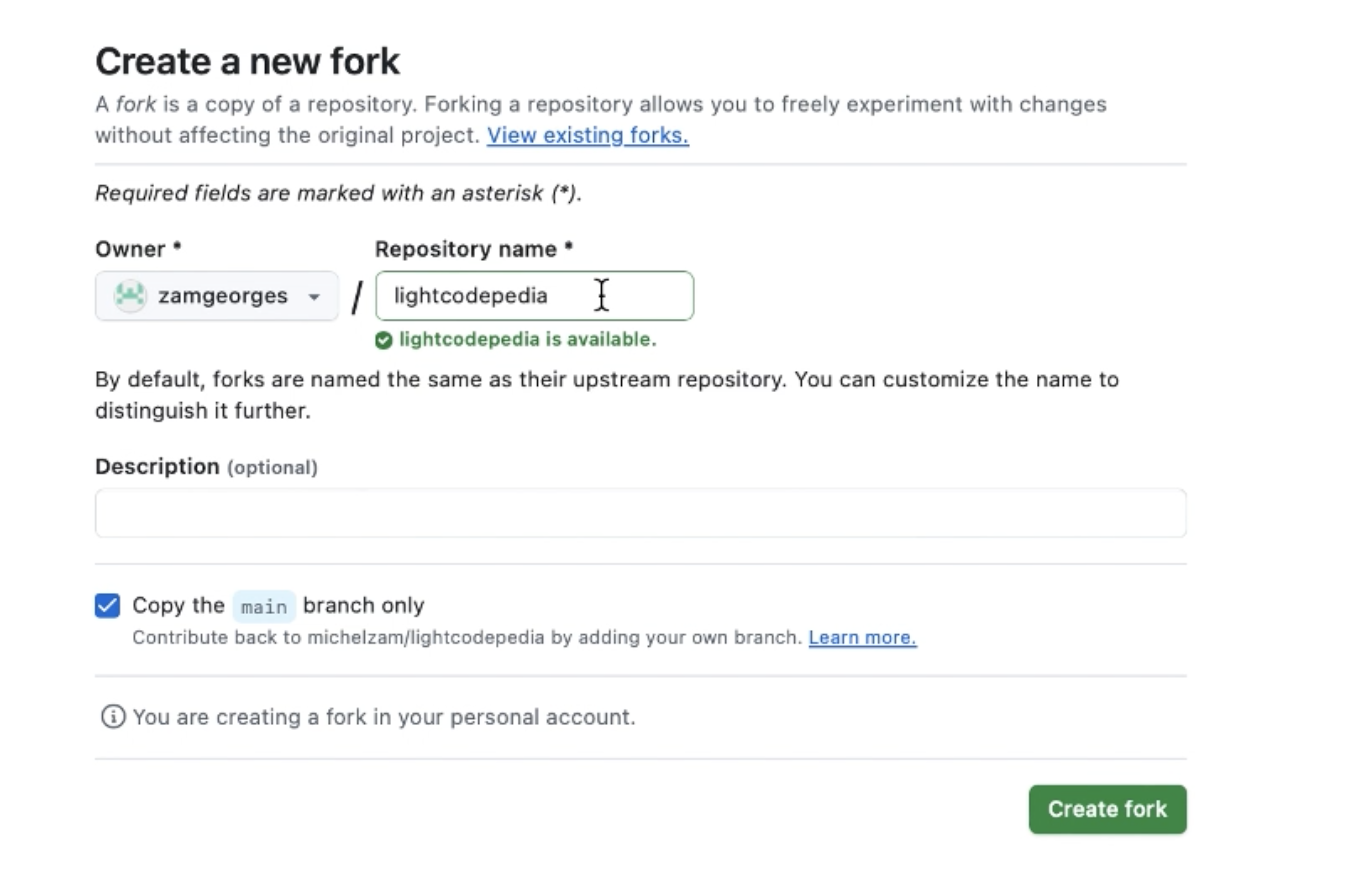
-
✅ If you land on your new repo page (forked from
michelzam/lightcodepedia), your fork is ready.
Step 2 — Deploy on Streamlit Community Cloud
-
Go to Streamlit Community Cloud https://streamlit.io/cloud and click Continue to sign-in.

-
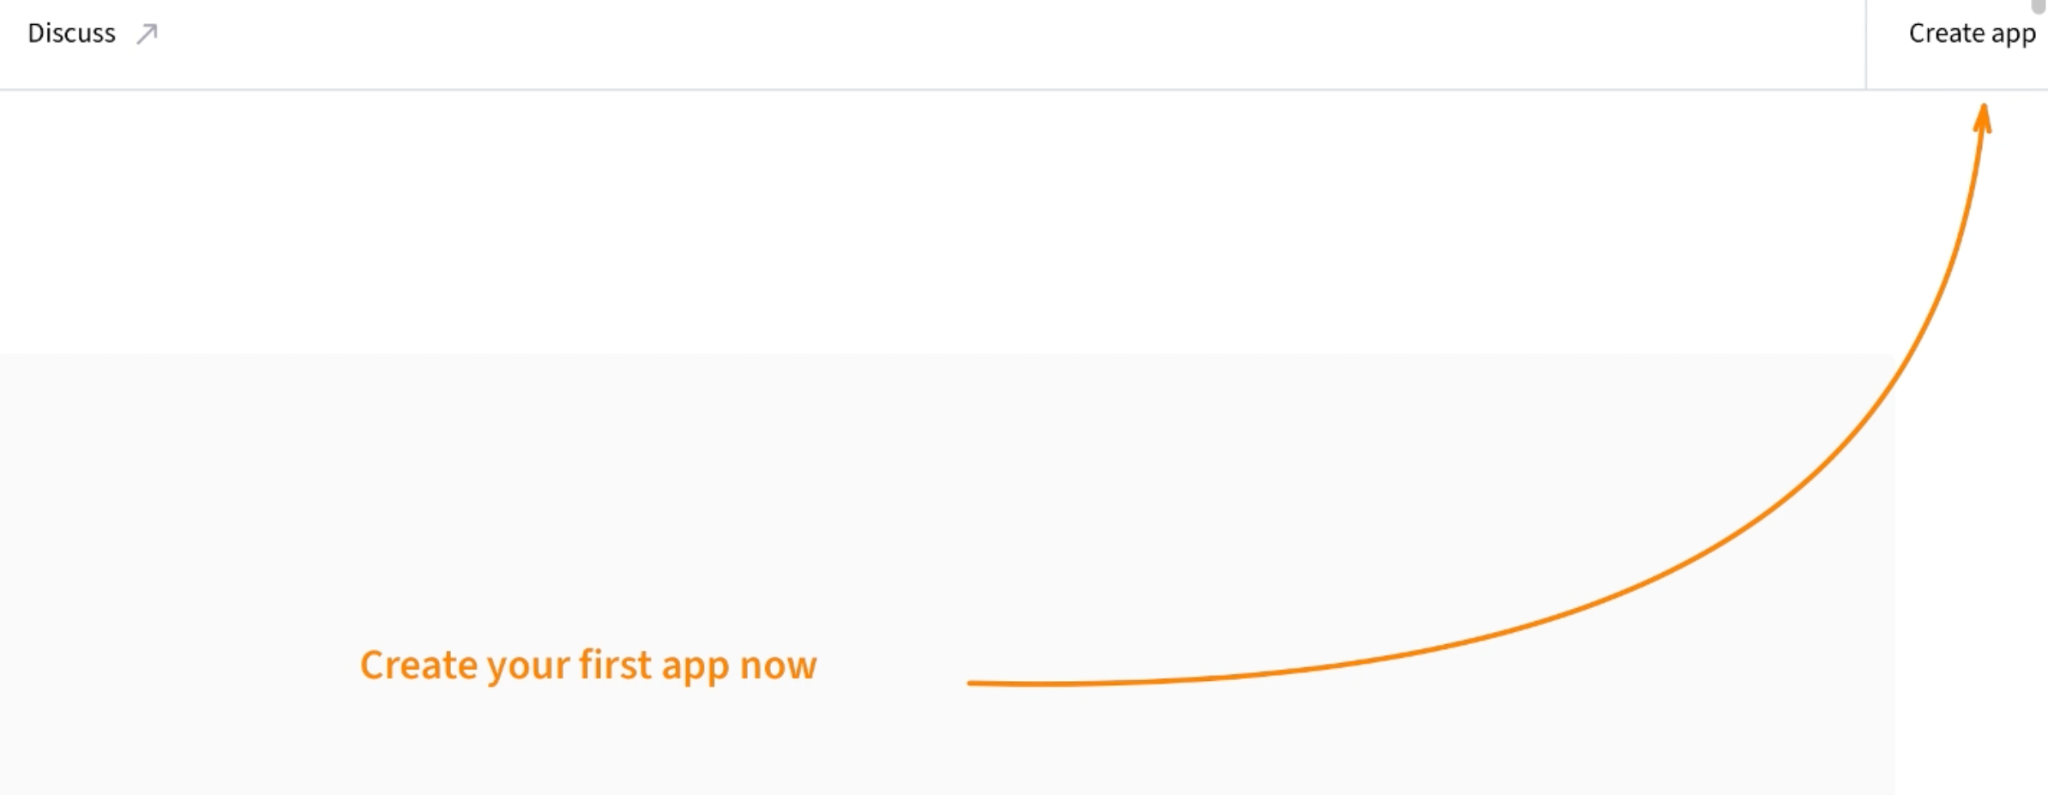
Click Create app (or Create your first app now).
-
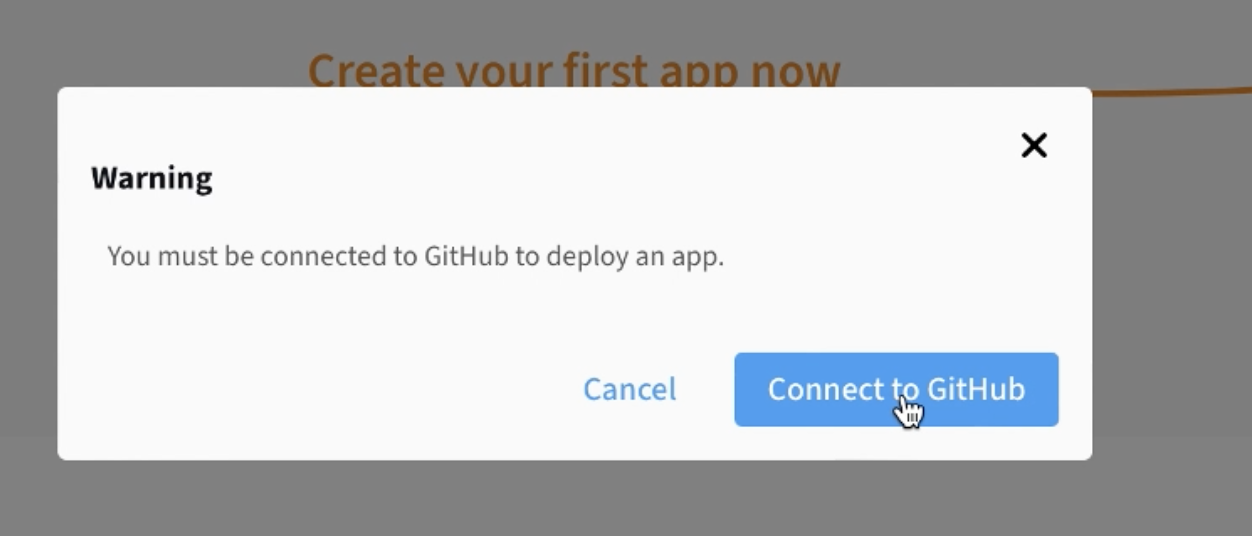
When prompted, click Connect to GitHub.
-
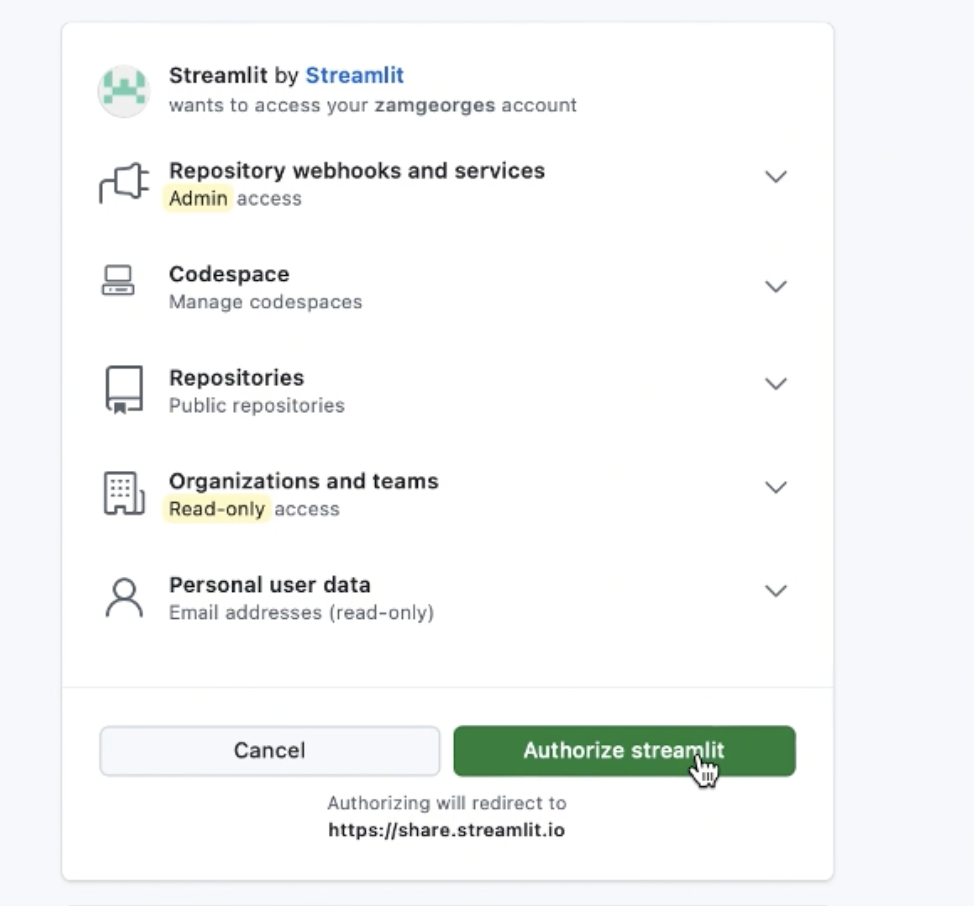
On GitHub, click Authorize streamlit to allow access.
-
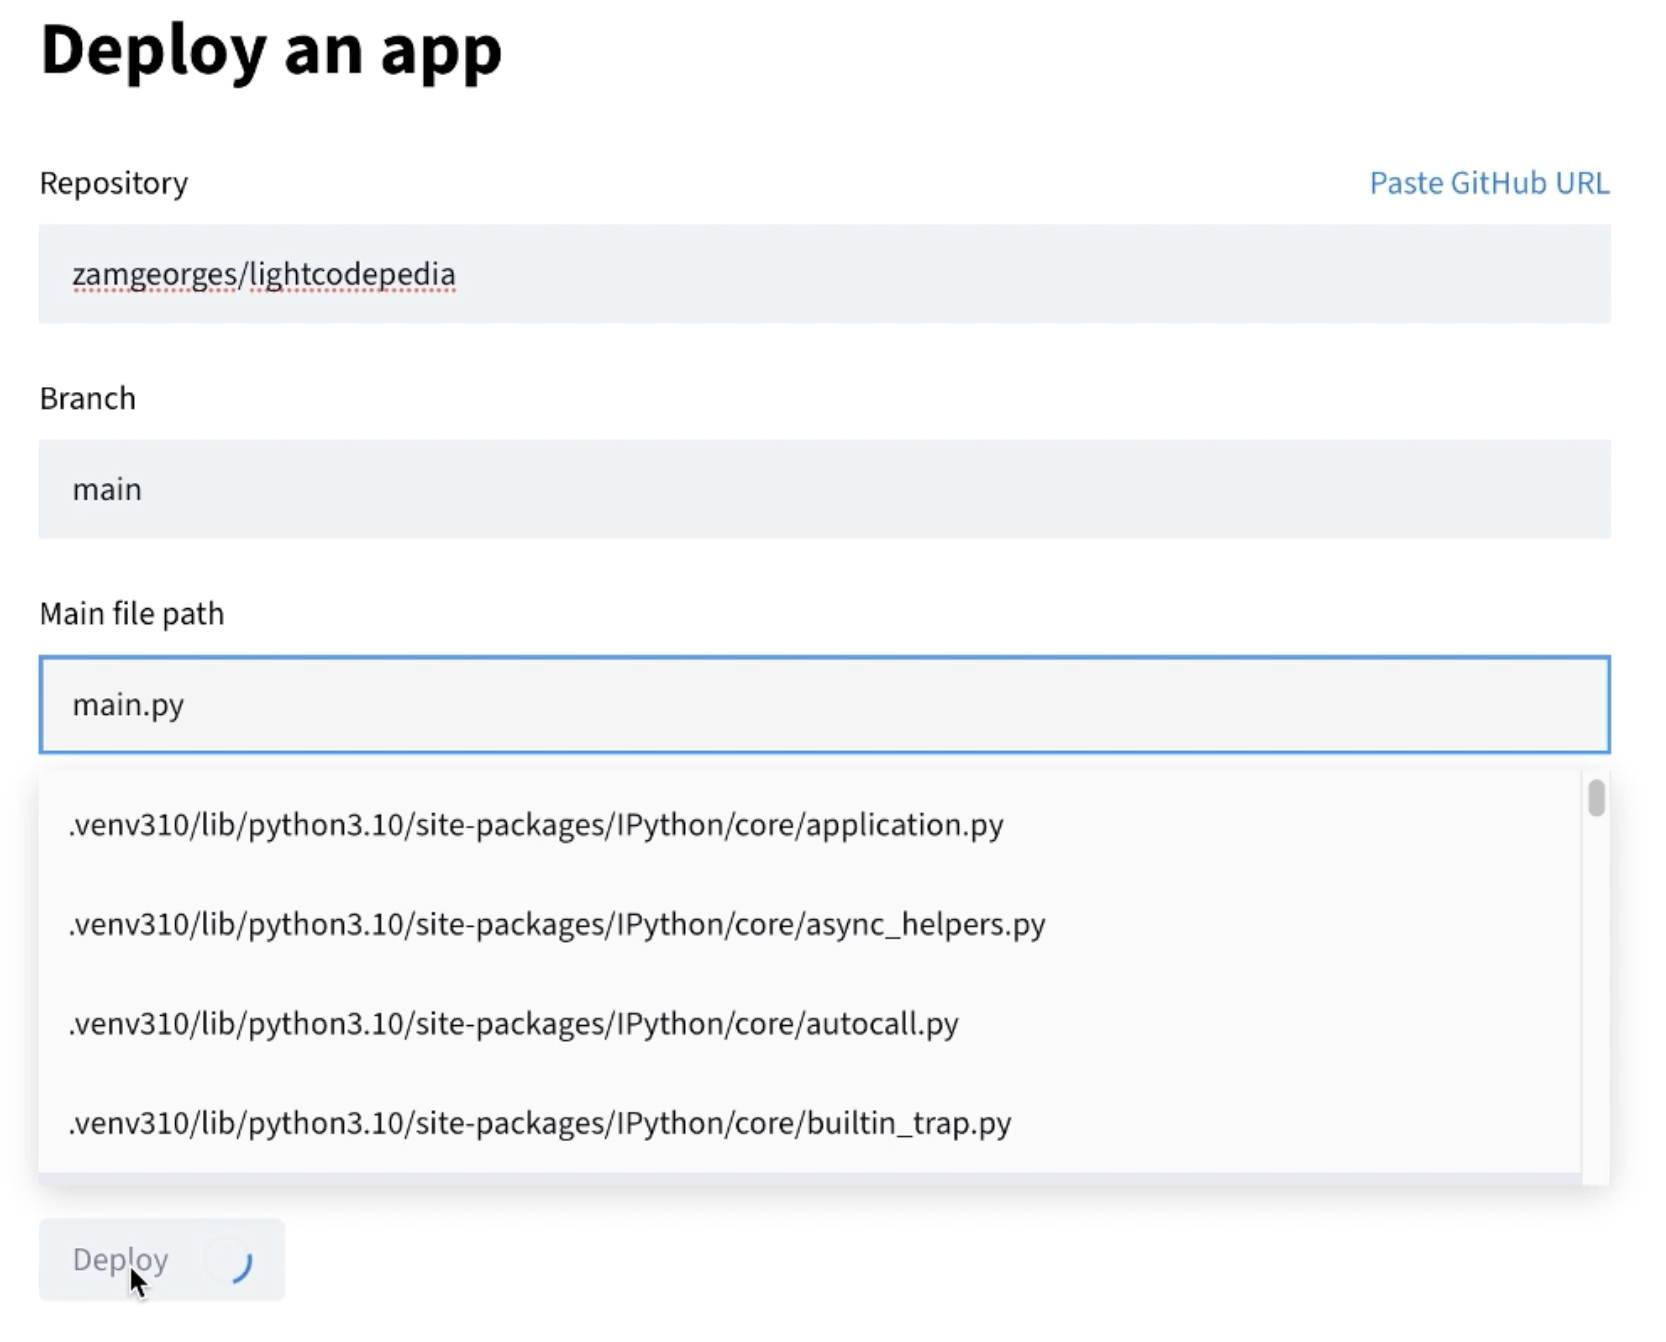
Back in Streamlit, fill the deploy form then Deploy:
- Repository: select your fork of
lightcodepedia - Branch:
main - Main file path:
main.py
- Repository: select your fork of
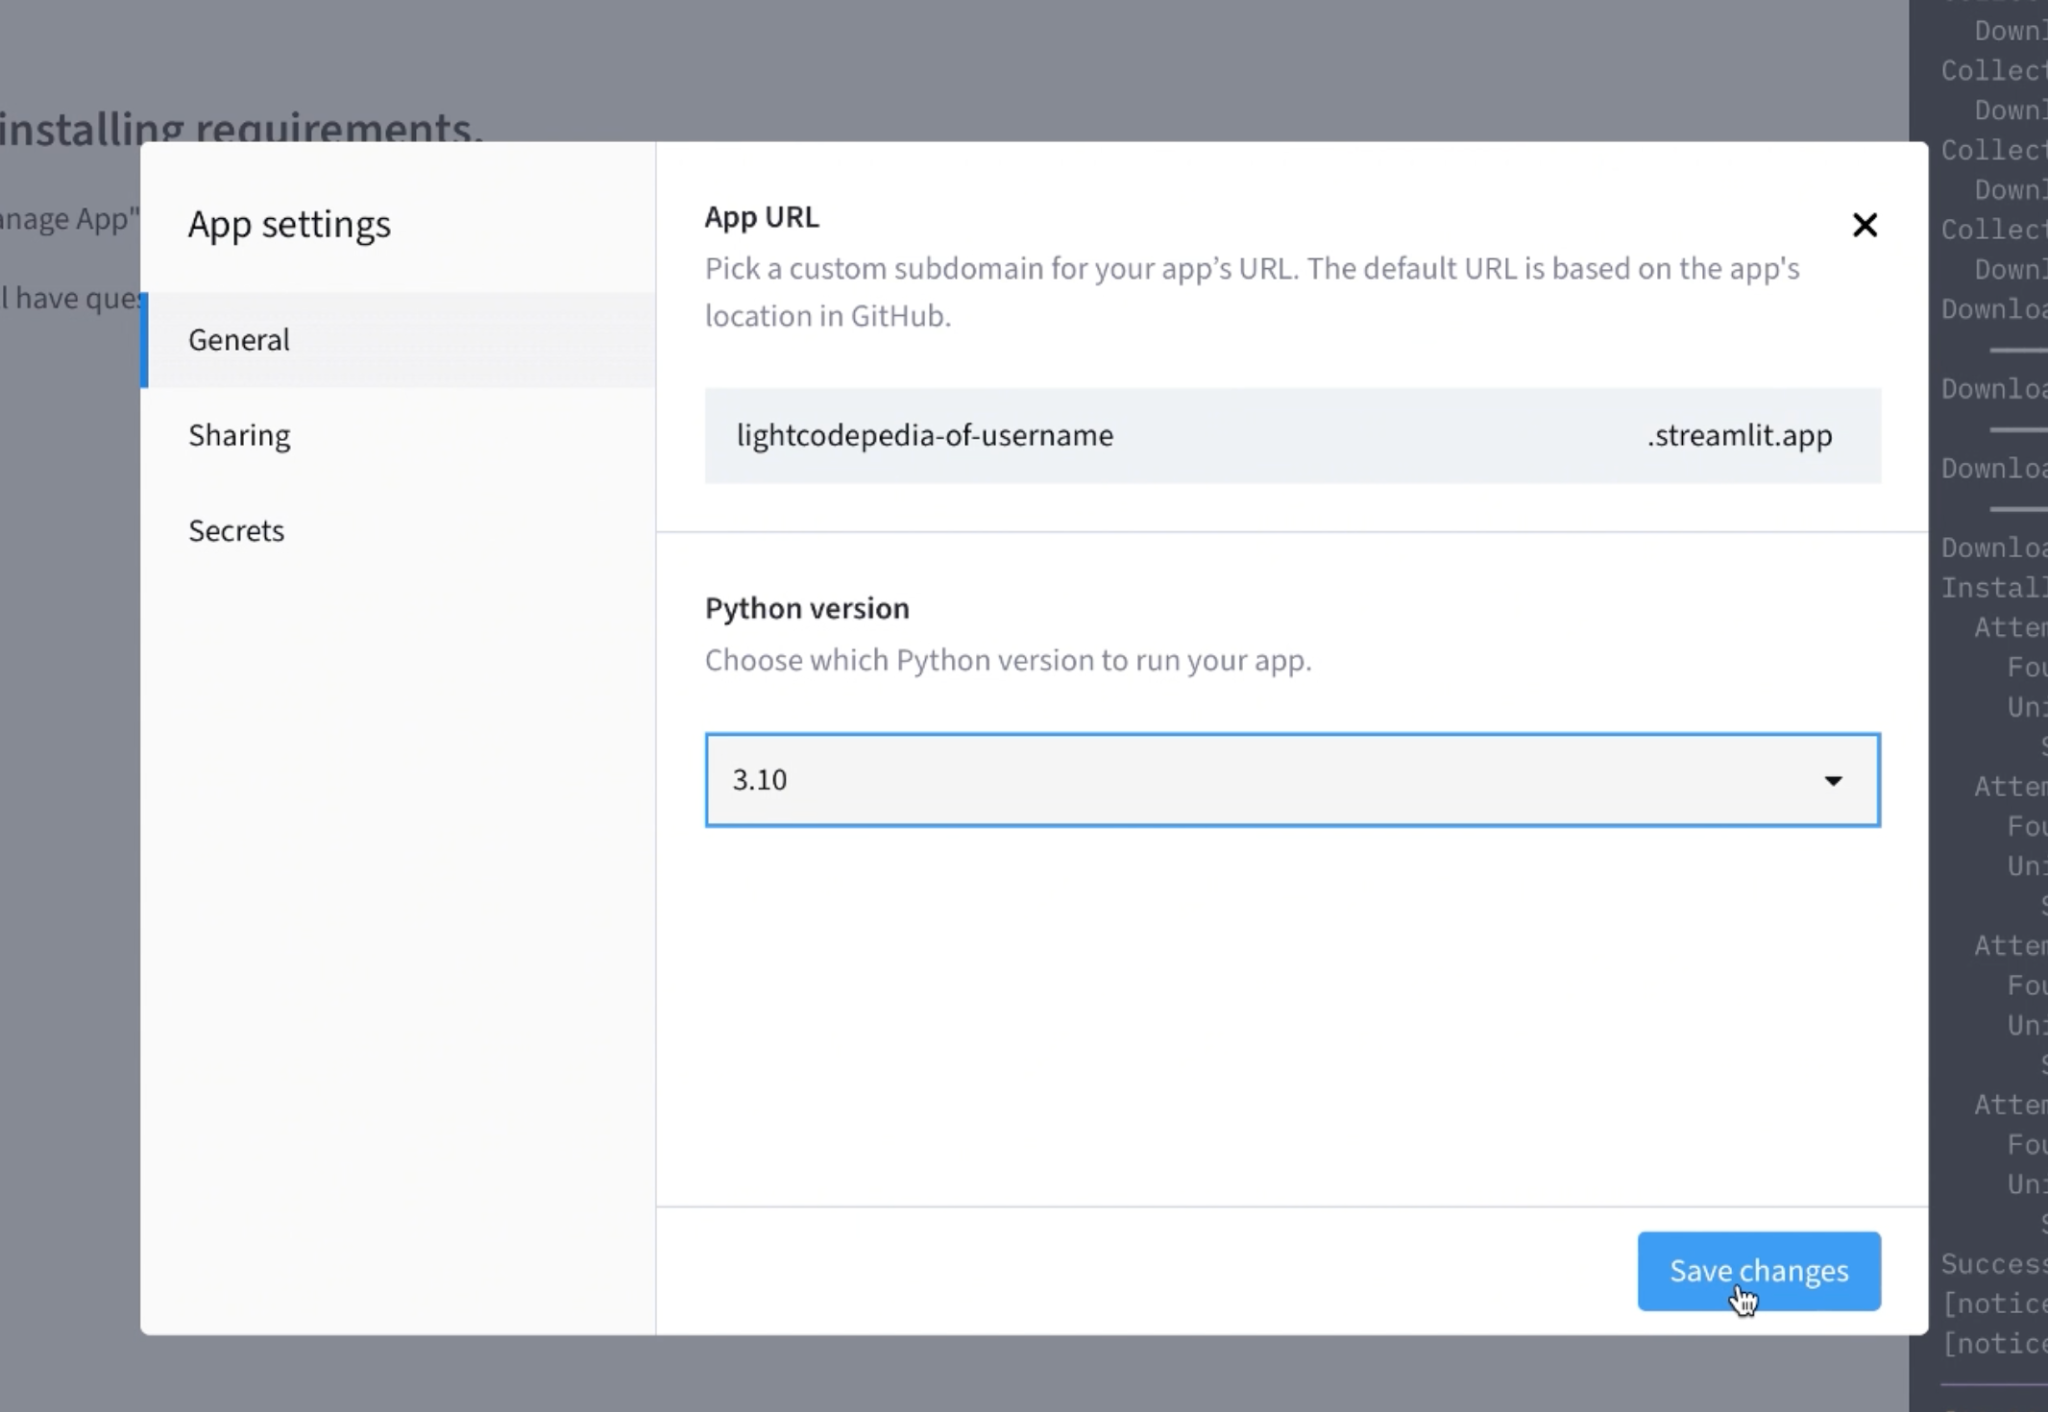
Troubleshooting — If an error appears during deployment
If the build fails with a Python version error:
- Open your app in Streamlit Cloud → Manage app.
- Go to Settings → General (or Advanced/Runtime).
-
Set Python version to 3.10 and click Save changes.
Lightcode. (c) KarmicSoft 2026